Setting Up a Preset
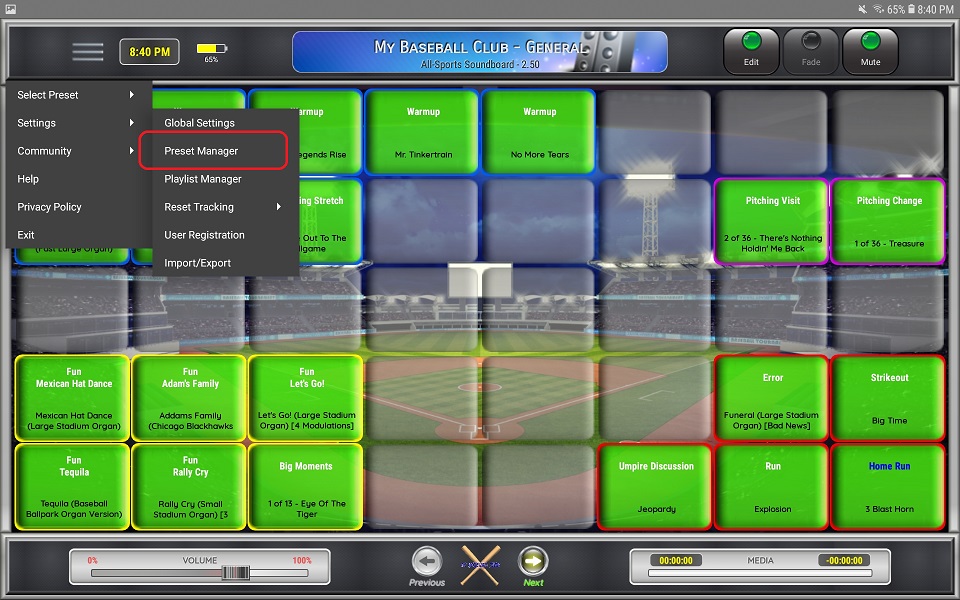
1. Using the main menu, select Settings, then Preset Manager
2. Select the preset from the list on the left that you want to configure
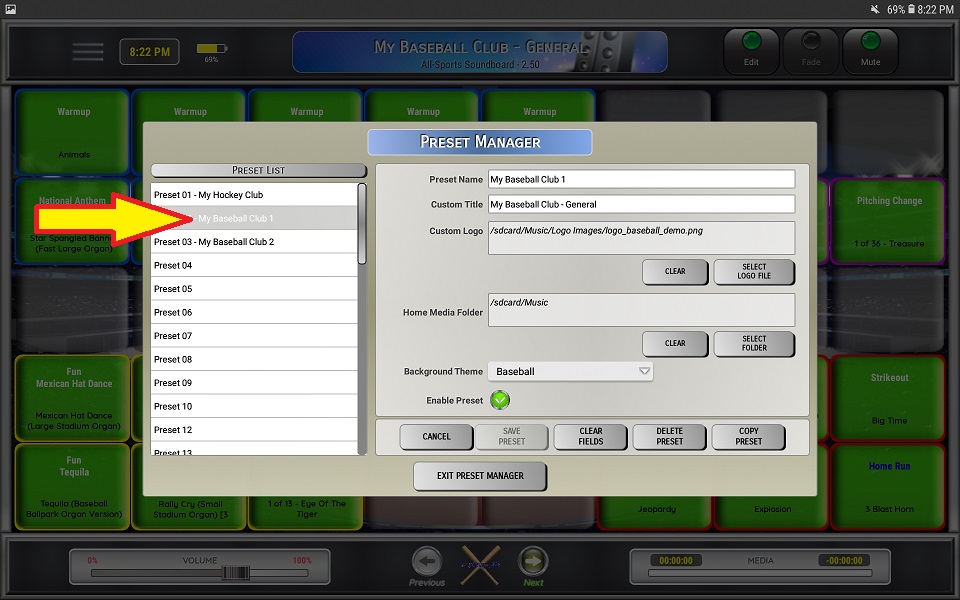
3. Enter a name for the preset
⚬ The name must be unique
4. Enter a title for the preset that will be displayed on the main sceeen
5. Select a custom logo (not required)
⚬ Supports BMP, GIF, JPG and PNG formats
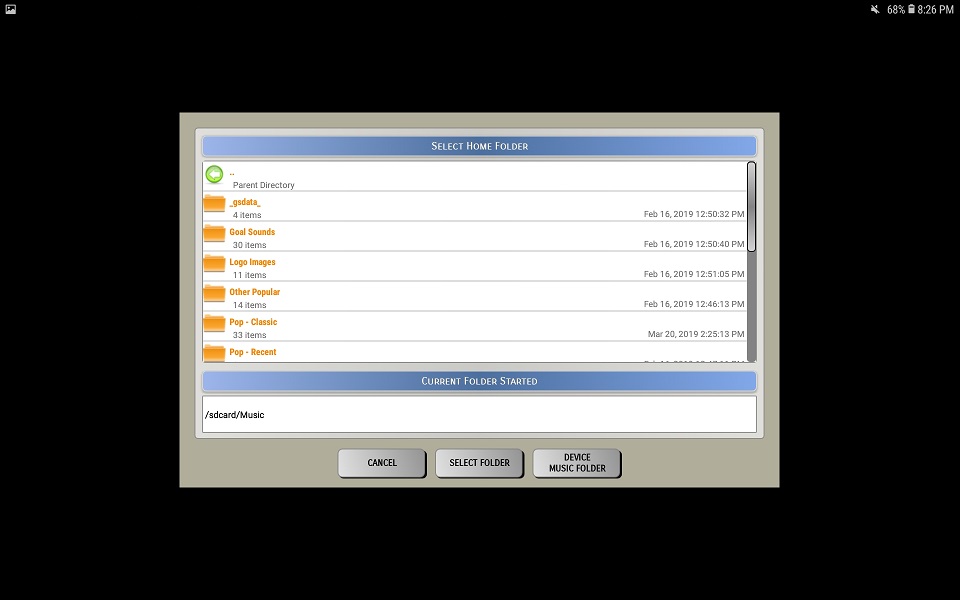
6. Select a home media folder (not required)
7. Select a background theme
8. Enable or Disable the preset
⚬ If must be enabled to show up the Select Preset menu as well as to be able to switch it
⚬ The first preset is required to be enabled
9. Click Save Preset to save your changes
10. Click Delete Preset to remove the preset and it's associated settings
11. Click Clear Fields to clear all the preset fields and set them to the default settings
12. Click Cancel to cancel changes
13. Click Copy Preset to import settings from another preset

⚬ Copying a preset will copy preset settings as well as all buttons that are stored for that preset
⚬ Select a preset from the drop down menu that you want copy the settings from
⚬ Click Select to continue or Cancel to return to the preset screen
⚬ Enter a new preset name (preset names must be unique)
